Ginger
Ginger cookies are crunchy and spicy, low in fat and overwhelming with sugar. They are made of most basic ingredients but there is a bit of magic involved in the making. It is rather easy to do something wrong.
Time requirements:
- 1—3 hours of work
- 1 extra day of waiting
- 1 hour baking, in total
Ingredients for two baking tins (50 to 60 pieces):
- 2 whole eggs + 2 extra egg yolks
- 300 g sugar
- 300 g fine wheat flour
- 20 g dry powdered ginger
- a bit of solid fat such as butter
Necessary non-trivial tools:
- electric mixer and a mixing bowl
- rolling pin and a large rolling board (is it called like that?)
- cutout cookie cutter (the traditional one is a funky Z-shaped thingy)
- baking oven

Put the eggs into a bowl with the sugar and mix it until the sugar perfectly dissolves. The result should slightly increase in volume as you mix in some air.


Add the flour and ginger and mix it all down to a smooth pale brown matter. This should still be manageable for an electric mixer.


Prepare the baking tins: spread a bit of butter all over the surface. Prepare the rolling board: cover it with a thin layer of flour, mostly in the center. The dough is extremely sticky, so both of these steps are necessary to pick it off either of the surfaces.


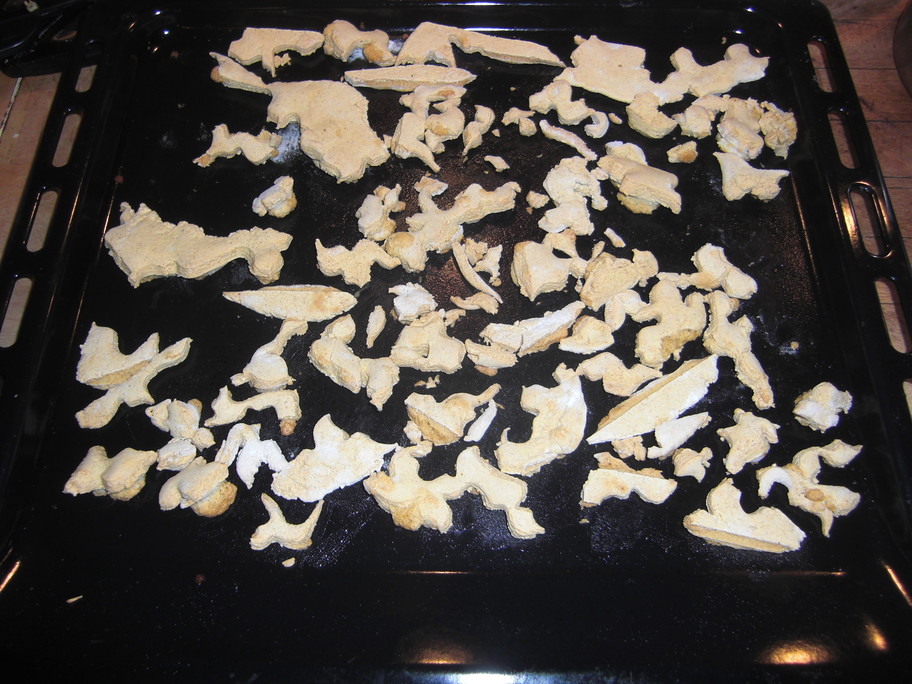
(insufficiently; it should have been
twice the amount)
Make the dough into a layer about half a centimeter in cross-cut (that is quite thick, in fact). It should form a disc of roughly 50 cm in diameter. This step is difficult in that all contact with the dough must be insulated by flour. If there is a direct contact to the board, to the rolling pin or to your hands, it sticks and never lets go. A sheet of teflon or silicone is a possible exception and may be helpful for the initial touch. In all other cases, use a lot of flour but be careful not to mix it into the dough itself: it shall just form a coating layer. The cookies would not taste good if they contained too much extra flour.


Cutting out is quite a difficult task, especially if you used too little flour and your dough sticks to the board. You also need to keep the cutter clean in order to create nice shapes. I recommend to dampen the cutter slightly before each piece in a bowl with water. It not only allows you to proceed quickly but also requires you to: if you hesitate for too long, the dough will dissolve in the droplets of water and will occasionaly stick to the board and everything possible. An appropriate amount of water should allow you to pick a piece directly with the cutter, to transfer it elsewhere (in a vertical pose) and then just drop it without any extra care.
If you prefer the dry way, just coat the cutter with flour before each piece. It usually requires a knife to push the piece out of the cutter and may be impossible if the dough is too muddy. Washing the cutter is no less important.


Lay out the pieces on the baking tin with respectful separating space, they will increase in size considerably. A finger wide should be enough. Do not process the leftovers from cutting, that would add too much flour and they would be tasteless. Just collect these somewhere and bake them after the cookies themselves.

Now comes the easiest part: let it dry out for a day before baking. This is necessary to have nice and sharp shapes.
Finally, bake it at 130—150 °C for about 15 minutes. If the cookies turn dark, the temperature was too high. Always start with a cold oven to allow the cookies to rise: if you throw them into a preheated oven, you will get flat tiles of stone, albeit aromatic.

You can eat them immediately from the oven or wait a few weeks so that they turn softer. Or something in between, whatever.
Last modified: 2014-12-02